


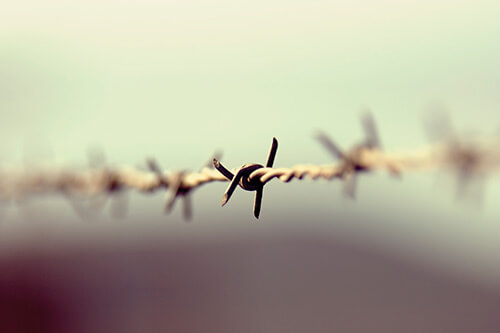
Depth of field (DOF) is the distance between the nearest and farthest objects in a scene that appear acceptably sharp in an image.

The area within the depth of field appears sharp, while the areas in front of and beyond the depth of field appear blurry.
We can set the DOF in most of the cameras before the shot. But with the help of this tutorial u can fake the DOF in any pic using photoshop,by following these simple steps:
1. Open your photo in photoshop, make sure you are in RGB mode.Image > Mode > RGB.
2.Click the Channels tab on your layer pallet (if not visible, Window > Channels). Click the small arrow (you can find this besides tabs channels), and select new channel. This will be your “Blur channel”.
3.Now, with the gradient tool set to black and white linear, make a gradient(to make a gradient click the pointer on the pic from left to right in case of the 1st pic in this post, u'll get red color gradient model) so that the area you want in focus is roughly covered with black.
4.Enable the RGB channel (Clicking the box where an eye will appear), you will see the area selected to blur as a glow.Before you continue – make sure that the RGB channel is ’selected/highlighted’ in the pallet, the filter will not work if you have the channel you made selected!
5.Now Go back to layers tab and select your layer. Filter > Blur > Lens Blur. Make sure your source is set to “Blur Channel” or whatever you called the new channel previously. Blur focal distance can be used to change DOF, and all other settings are just for minor adjustments,and you could finally remove the blur channel if u dont want the red thing.
6.Finally, a Brightness and Contrast layer,Layer > New Adjustment Layer > Brightness & Contrast. Increase contrast somewhat, and adjust brightness to keep it looking realistic.(Optional Step)
Well this is one accurate method to show the DOF, check out the easy alternative method in this video tutorial:
No comments:
Post a Comment
Add a new comment